Sunday, September 15, 2019

Paper punch with push through tools

Paperfox manufactures different paper punches with steel rule dies.
Steel rule dies are versatile, easy to manufacture devices, but but they are not always suitable for larger, heavier jobs.
So we have manufactured a pneumatic paper punches with push through tools.


The device has a circle, oval and euro slot shaped punch tools.


Medical blister punch

We've already made blister cutters, but now it's a bit different.
This machine is based on the well-proven Paperfox EVV-3 Cardboard edge protector cutter, which is equipped with a special blister holder and adjustable positioning elements.


Sunday, August 25, 2019

Solutions to align cylinder die cutters to the printed printed pattern.

1. Sticking cardboard strips on a foam material to align the sheet to.


Stick some foam material onto the die cutting tool and stick cardboard strips with double sided self adhesive tape on the foam. You can position the sheets which you want to die cut to this cardboard strips. Perhaps this is the easiest solution but the accuracy is sometimes not enough. Unfortunately the foam allows not only up/down movement the positioning cardboard strips can move during the process sideways.
There is a video about this process: https://youtu.be/kb2NERpQv7A

2. Alignment with positioning pins

The problems with the accuracy of the positioning with cartons trips sticked on foam material can be eliminated with using positioning pins as in the following pictures.


Thie die cutting cylinder can push down the collapsable pins and a spring pushes them back.

There are 8 positioning pins at the corners of the sheets to be die cutted.
There is a video about this process: https://youtu.be/cioDSYwkv8g

3. Positioning with steel rules

A very similar solution is to position the sheet with a spring steel rules as in the following picture:


The steel rules can be fixed on the die board with screws. The sheets can be positioned to this steel rules.

There is a video about this process: http://www.youtube.com/watch?v=YJWUcrQM9v0

4. Alignment with a transparent plastic and hinge


Mount a piece of transparent plastic with a hinge on the die board. Place positioning marks on the plexy. In this tool we pressed the the plexy against the cutting edges so that the trail of the cutting lines should appear on the plexy. We have strengthened this traces with a marker pen. (blue lines in the picture) Place a sheet on the tool, fold the plexy above the tool and align the sheet to the marks on the plexy. Fold the plexy away, place a cutting plate on the sheet and now you can die cut with your cylinder die cutter.


5. Fold up table


Mount a fold up plate with hinges on the table of the die cutter and fix the tool onto this plate. Stick cardboard strips on the cutting plate to position the sheets. In this way you can place also creasing matrix on the table to improve the quality of creasing.
Unfortunately this solution needs more cutting pressure and you can't cut big, complicated shapes or hard materials in this way.
There is a video about this process: https://youtu.be/mR3yxG2zZus


6. Transparent tool


We can manufacture transparent die cutting tools so you can position it easily to the printed pattern. This solution is optimal if the sheet is big and the die cutting tool is small. 

There is a video about a similar process with a flat bed press:
https://youtu.be/RTmhK_Zc5SEhttps://youtu.be/RTmhK_Zc5SE

7. Positioning with laser


We have manufactured a devices with you can position the sheets which you want to die cut to a laser “+” mark.

A video about the positioning solutions: https://youtu.be/zR-gSDOhi-k

Sunday, March 3, 2019

How to punch in the middle of sheets with a Paperfox KB 32 paper punch?

Paperfox KB-32 is a really versatile device, which is originally equipped with a euro slot punch tool.
You can replace this tool with another die cutting tool and you can punch even special holes. If you replace the creasing tool with a die cutting tool then you can punch in the middle of bigger sheets as well.


Wednesday, January 23, 2019

Why not exactly 90 degrees is the angle of the corner rounding knives?

Paperfox S-3 corner rounder

Corner rounding is a very sensitive operation, because even the smallest inaccuracy causes a visible error.
Corner rounding knife for S-3 corner rounder

Ideally the corners could be rounded with a 90 degrees knife, or we could round the corners even with a simple quarter-circle profile.
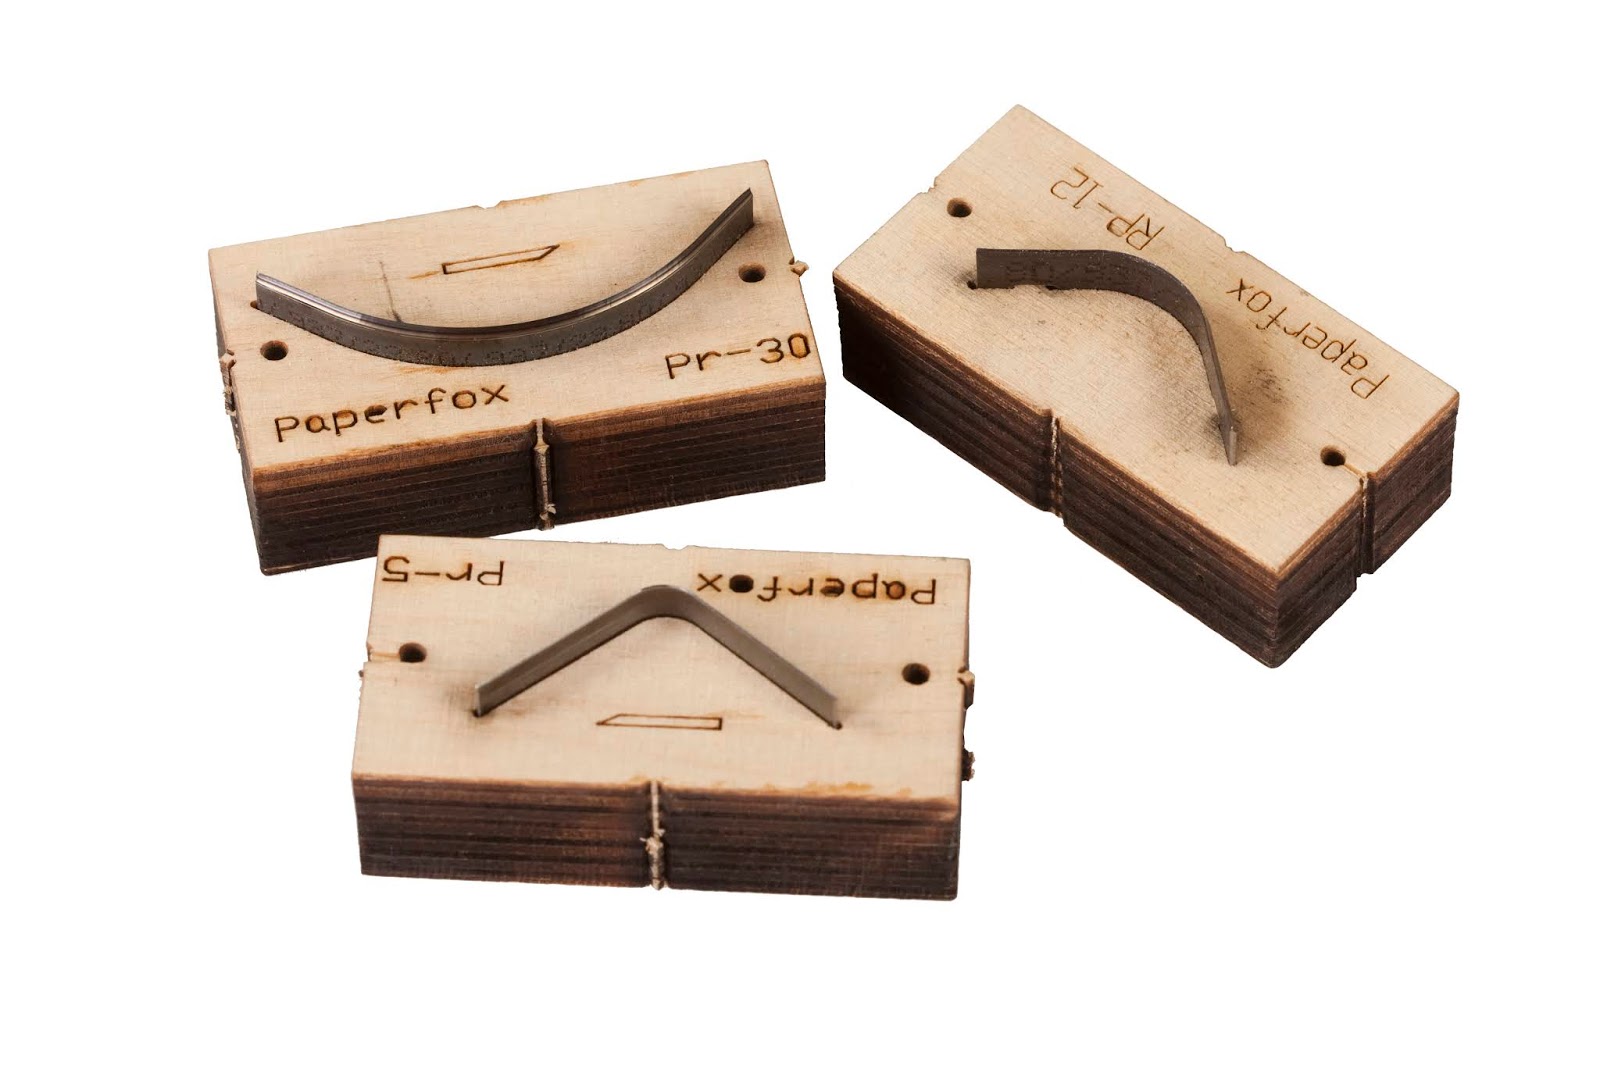
Corner rounding tools for MP-1 press


Unfortunately, in practice, this profile does not result in the best rounding because:

  • The corners of the sheets to be rounded are not exactly right-angled, and the angles of the corners are not exactly the same.
  • The adjustment of the guides of the corner rounders are not perfect, so the rounding does not fit exactly to the corner of the sheets. 


The drawing below shows how the corner is rounded when its opening angle is equal to smaller or greater than the angle of the corner rounding knife.


The first column shows how a perfectly right-angled knife would behave when rounding a perfectly right-angled corner with perfectly accurate adjustment. (Perfectly)

The second column shows a knife with an opening angle (95 degrees) slightly larger than the corner angle of the paper. Although the result is not perfect, but even with some misalignment, the error is not significant.

In the third and fourth columns there is a knife with an opening angle (85 degrees) slightly smaller than the corner of the paper. The knife in this case not cuts the corner completely or the blade edge will cut into the paper. Even the slightest inaccuracy results a visible error.

Therefore, it is advisable to choose the opening angle of the rounding blades slightly higher than 90 degrees.

The situation is similar with the side guides in the corner rounders. If the angle of the guides is slightly larger than the corner angle of the paper, it will result in a much less visible error than if it would be smaller.